
Chicken will not tell you when it is done. A steak gives a little under your thumb, a loaf of bread sounds hollow, but a chicken looks exactly the same at 150°F as it does at 165°F. I spent the better part of thirty years guessing at that difference, and about twice a year the guess came out wrong in the direction that ruins dinner. Dry, chalky, the kind of thing everyone chews politely and nobody finishes.
When I retired from teaching high school chemistry after thirty-one years, I finally had time to treat my own kitchen like a lab bench instead of a pit stop. The purchase that changed the most was a TempPro TempSwift TP19H instant-read thermometer, which I bought with my own money in the first week of March along with a few other things I had been putting off for a decade. I have used it almost every night since. What follows is the method I actually use now, in five steps, including the parts I got wrong first and the reason each step matters.
Stop Guessing at 165°F. Read It Instead.
The TempPro TP19H gives you a number in about a second, accurate to within 0.9°F, on a backlit display you can read sideways over a hot pan. It is the tool I reach for before I reach for anything else.
Amazon Check Today's Price on Amazon →Step 1: Decide What Number You Are Aiming For Before the Chicken Touches the Pan
165°F is the number the USDA publishes for poultry, and it is a safety floor rather than a preference. At 165°F the bacteria of concern die essentially instantly, which is why the number sits where it sits. What the number does not tell you is that 165°F is also roughly where a chicken breast turns from tender to dry, and the gap between those two states is narrow. Maybe five degrees. That is why I pull breasts at 160°F and let carryover heat finish the job while the meat rests on the board.
Dark meat wants more. Thighs and legs are full of collagen, and collagen needs heat and time to break down into gelatin, which is what makes a thigh silky instead of chewy. I take thighs to 175°F, sometimes 185°F, and they are better for it. Wings, same story. So the first step is not cook the chicken. It is know which part you are cooking and what number that part wants before you turn on the heat.
Thirty years of cooking without that distinction is why my early roast chickens were dry in the breast and underdone at the joint. I was aiming one number at a bird that has four different ones. Now I know them: 160 for white meat, 175 for dark, and the whole thing rests before anyone touches a knife.
Step 2: Put the Probe Where the Number Actually Lives
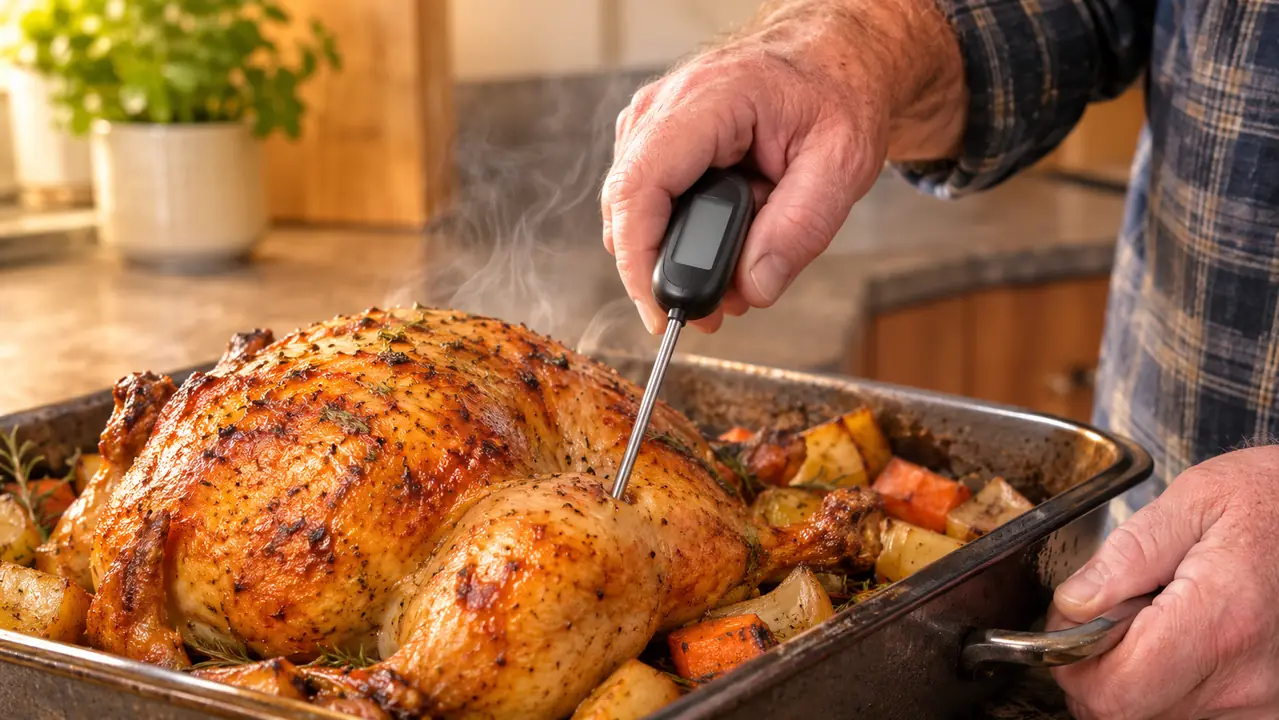
A chicken is not a uniform object, and a thermometer only reports what is happening at the very tip of the probe. Two things will lie to you. Bone conducts heat faster than meat, so a probe resting against bone reads high, sometimes by ten degrees, and you pull the bird while the center is still behind. A pocket of fat insulates, so a probe buried in fat reads low, and you leave the chicken in until the breast is ruined. Aim for the thickest part of the meat and stay clear of both.
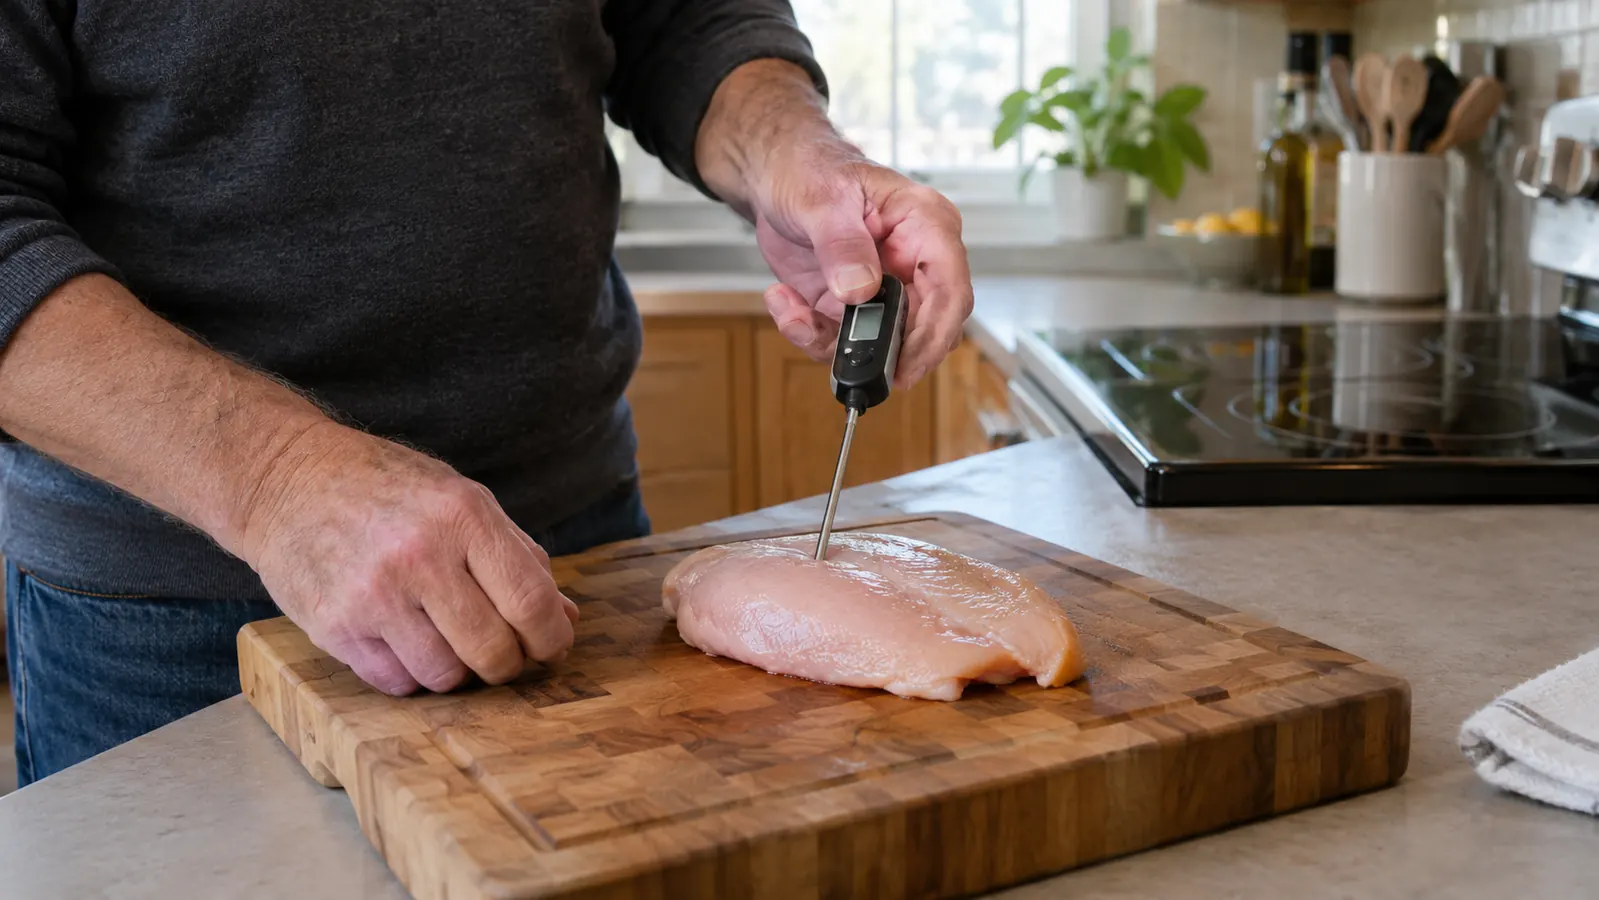
For a whole bird I take two readings: the inside of the thigh where it meets the body, clear of the bone, and the thickest part of the breast. For a boneless breast I go in from the thick end, sideways and parallel to the counter, so the tip lands in the center instead of punching through into the pan. For a sheet pan of thighs I pick three pieces rather than one, because a home oven is never even and the front corner runs hot.
My old dial thermometer had a thick stem and a lazy needle, and I used it for years without understanding that it was reading the average of wherever the stem happened to be sitting. It lives in the junk drawer now. Every so often I think about how many chickens I sentenced with that thing.
Step 3: Go Deep Enough, Then Believe the Reading
The TP19H lists an immersion depth of 4.3 inches, which tells you where the sensor sits: up near the tip, not down at the base. Push only the last quarter inch into the meat and you are reading the surface of the chicken or the heat of the pan. Push until the tip is buried well past the point where the probe meets the housing. For a thick breast that means an inch and a half at least, and more for a whole bird.
Mine settles in about a second, to a tenth of a degree, accurate to within 0.9°F according to the spec. I still watch it for two seconds out of habit. The second second almost never moves. The display is two inches across and backlit, and it rotates a hundred and eighty degrees, so I can read it sideways while my hand is over a hot pan. That sounds like a small courtesy until you have tried to read a small screen at an awkward angle with steam in your face.
The accuracy figure matters less than people think, because carryover will move the number five degrees after the chicken leaves the oven anyway. What matters is that the reading is honest and repeatable, so that when you see 158°F you can act on it with confidence. A thermometer that is nine degrees off is worse than no thermometer, because it makes you certain and wrong.
There is a rhythm to it that took me a while to find. I open the oven, pull the pan out onto the glass top, close the oven, and probe. Then the pan goes back in. Doing it in that order means the oven does not lose its heat while I fiddle, and it means my readings happen at the same moment in the process every time. Cooking is full of small consistencies like that, and they add up to a dinner you can repeat.
A thermometer does not make you a better cook. It removes the one variable you cannot see, which is the temperature at the middle of the meat.
Step 4: Take the Reading Early, and Take More Than One
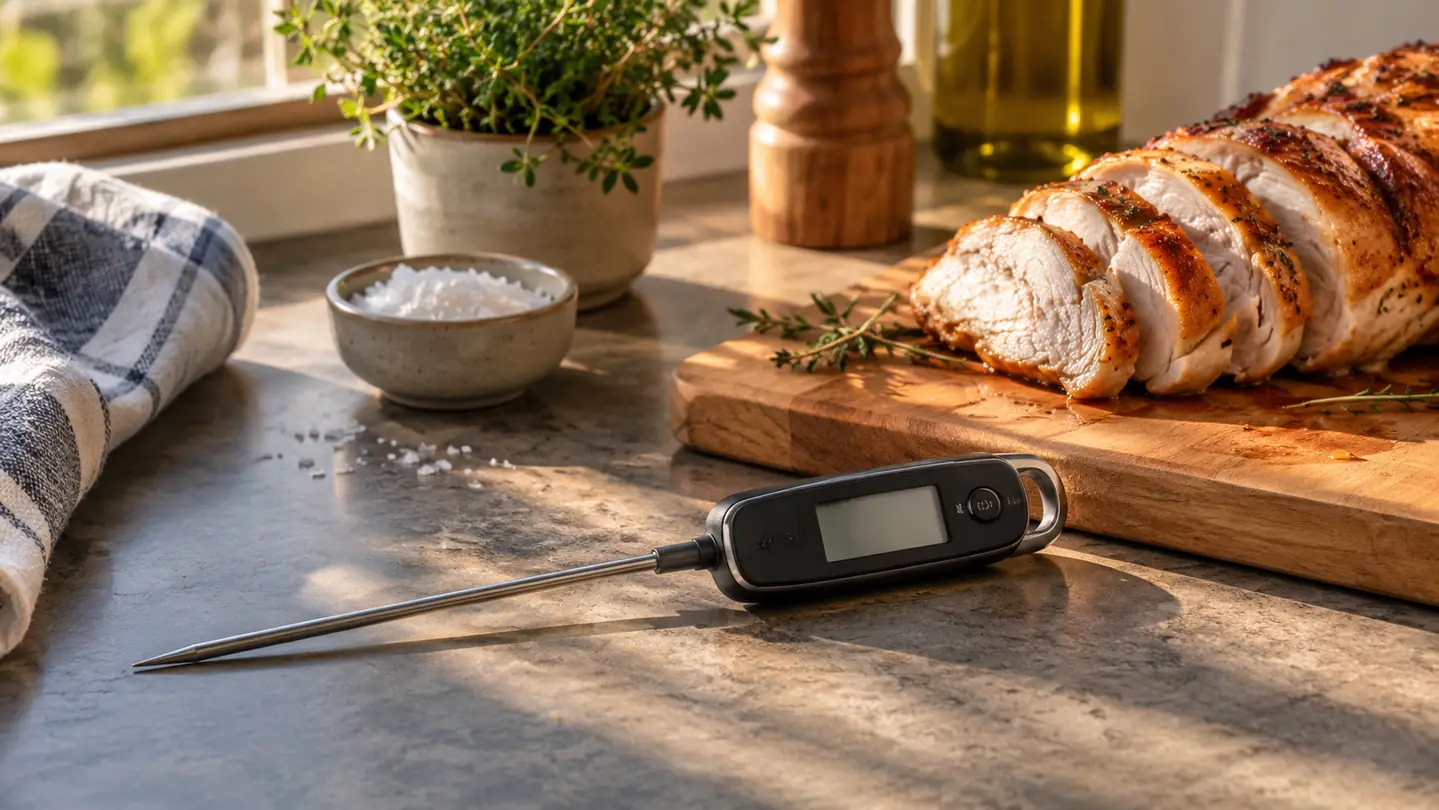
Two habits matter here, and the first is pulling the chicken before it reaches the target. A roast keeps climbing after it comes out of the oven, usually five to ten degrees depending on size and how you cover it. Pull a whole chicken at 158°F in the breast, rest it fifteen minutes, and it will coast past 165°F on its own. Pull it at 165°F and it will coast to 172°F, and you will stand there wondering why the breast is dry when the thermometer said it was perfect.
The second habit is taking three readings instead of one and believing the lowest. If two spots read 170°F and one reads 152°F, then the chicken is at 152°F in that spot, whatever the other two said. I learned that on a sheet pan of thighs where the back row ran noticeably behind the front, close to a fifteen degree spread across a single pan. Now I turn the pan halfway through and I probe in three places before I decide anything.
Sunday dinner with the grandkids is where this matters most, because a whole bird for six people is not something you want to get wrong twice. I check the breast, the thigh, and the joint between them, and I let it rest on the board while the vegetables finish. By the time I carve, the number has done its work and I am not standing over the oven second-guessing myself.
Step 5: Keep the Tool Honest
A thermometer you do not trust is worse than none, because it makes you confident and wrong. The TempPro is hand wash only, and that means hand wash only. I wipe the probe with hot soapy water and a cloth, then dry it straight away. I never dunk the body of it. The stainless probe will take the washing without complaint. The seam where the probe meets the housing is not built for a swim.
Twice a year I check it against two fixed points. A glass of ice water with ice still in it should read 32°F. Boiling water here in Asheville should read about 208°F rather than 212°F, because we sit around 2,200 feet up and water boils cooler the higher you go. That is the sort of thing I used to teach on a Tuesday morning, and it is still the easiest calibration in the kitchen. If both points land within a degree, the thermometer is telling the truth and a bad dinner is my own doing.
The battery is a single AAA, rated for up to 3,000 hours, and one comes in the box. It wakes when I pick it up and goes to sleep on its own when I set it down, so I have never once switched it on or off. It weighs 77 grams, which is light enough to hold in my teeth while I move a pan, though Ruth has asked me not to.
What Else Helps
Resting is the other half of the job. Five minutes for a boneless breast, fifteen for a whole bird, on a board with a groove to catch the juice. Cut immediately and the juice ends up on the board instead of in the meat, and no thermometer on earth fixes that. A loose tent of foil is enough. Wrapped tight, the crust goes soft and you have traded one problem for another.
Salting ahead helps more than most people expect. I salt chicken the morning of, or the night before when I remember, and leave it uncovered on a plate in the refrigerator. The salt works its way in and the surface dries out, which browns faster and more evenly. It costs nothing but planning, and it is the step I skip most often when I am in a hurry, which is why I am telling you rather than myself.
The same thermometer earns its keep elsewhere. It reads frying oil, since it goes up to 300°C, and it is listed as oven safe, so I use it for bread as well: 200°F or so in the middle of a loaf. That is why it lives in the drawer next to the knife rather than in a utensil crock where things go to be forgotten. A tool you have to hunt for is a tool you stop using, and then you are back to guessing.
One more piece of advice, and it is the least popular kind: cook chicken the same way three times and write the numbers down. Two breasts, a spatchcocked bird, a tray of thighs. The first time you will overshoot, the second time you will undershoot, and the third time you will know what your oven actually does at 400°F on the middle rack. Mine runs about fifteen degrees hot, and I only found that out because I started keeping notes.
Five Steps, One Minute of Work, and a Number You Can Finally Trust
Chicken is the easiest meat in the kitchen to ruin and one of the easiest to get right, once you can see the temperature instead of guessing at it. The TempPro TP19H has sat in the drawer by my stove for eight months of nightly cooking, and it is the reason I stopped second-guessing dinner.
Amazon Check Today's Price on Amazon →