
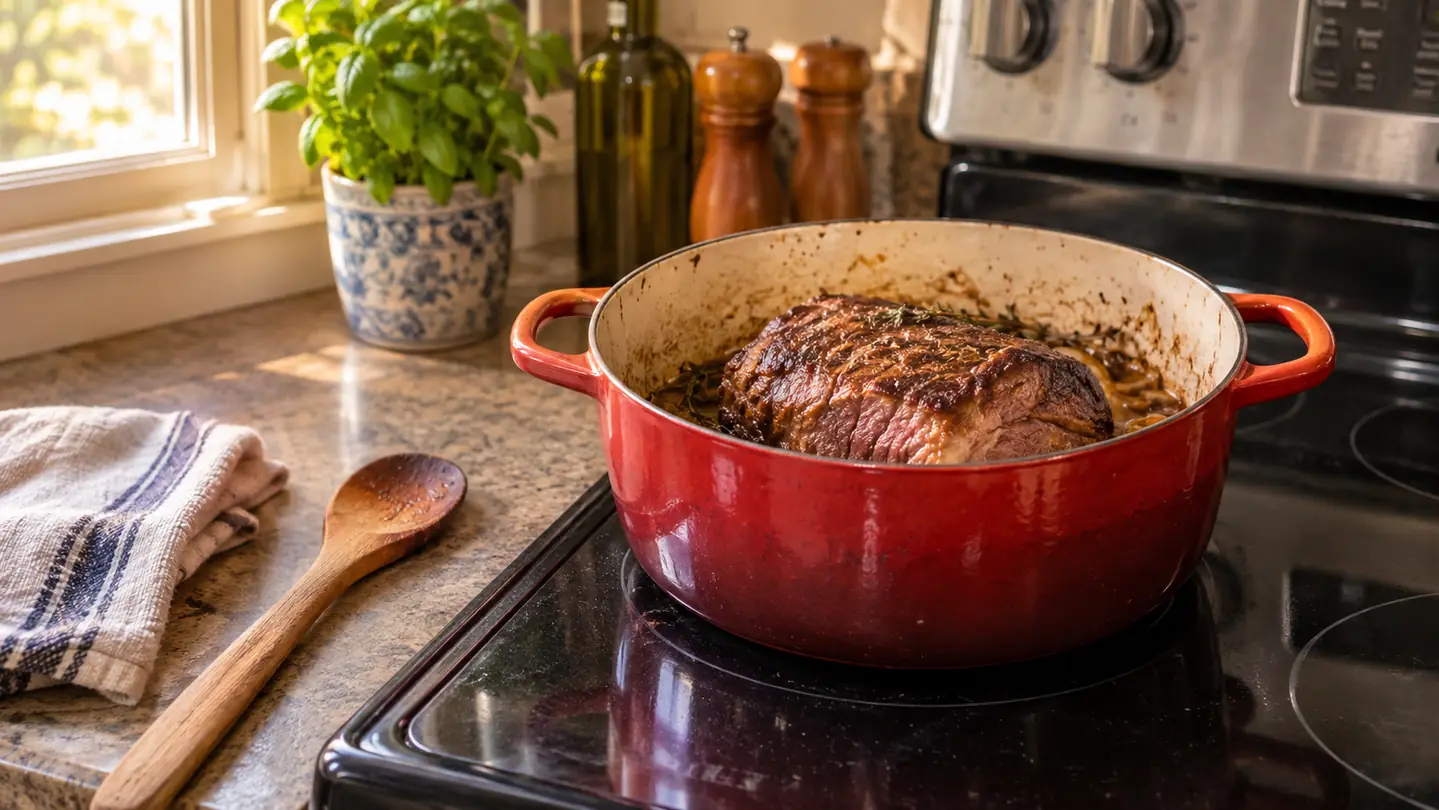
The first pot roast I ever braised in my Lodge Dutch oven came out like a wet log. I had browned the meat, poured in stock, clamped the lid down and walked away for two and a half hours feeling rather pleased with myself. What I lifted out of that pot shredded into strings and tasted like the liquid it had been sitting in. Ruth took one bite, said it was fine, and reached for the salt. That is the worst review a retired chemistry teacher can get from his own wife.
I have made this dish forty or fifty times since, and the failures have mostly stopped. What fixed it was not a better recipe. It was admitting that braising is three separate reactions wearing one apron. The surface of the beef has to brown, and browning stops dead the moment that surface is wet. The collagen woven between the muscle fibers has to melt into gelatin, and that happens in a fairly narrow band of temperature, not at a hard boil. And the liquid has to cook down into something worth spooning over the meat, which means it cannot start out as a lake. Miss any one of the three and you get stringy beef in brown water. Hit all three and people assume you know something they do not.
Here is the order I do it in now, roughly every third Sunday, in a 6 quart pot that has been on my back left burner since March.
The pot this whole method was written around
One round 6 quart enameled Dutch oven, oven safe to 500 degrees, 13.5 pounds, doing braises, chili and the occasional loaf two or three times a week in my kitchen since the first week of March.
Amazon Check Today's Price on Amazon →Step 1: Buy chuck, and get the surface bone dry
Buy chuck. A chuck roast or a blade roast, between 3 and 3.5 pounds, with fat marbled through the middle of the meat rather than one thick cap sitting on top. Round roast looks leaner and more elegant in the package and it is the wrong tool entirely, because it has almost no connective tissue to convert and it goes dry and sandy after two hours in the oven. Chuck is full of collagen, and collagen is the thing that turns silky.
Unwrap it, pat it dry with paper towels, and salt it. Two teaspoons of kosher salt for a roast that size, all over both flat sides and the ends, then leave it uncovered on a rack in the refrigerator for at least 45 minutes, or overnight if you planned ahead. The salt draws moisture to the surface, dissolves in it, and gets pulled back into the meat. The surface dries out along the way. That matters because the Maillard reaction, the family of reactions that produces a brown crust and roasted flavor, needs a surface temperature well above the boiling point of water. Any film of moisture sitting on the beef holds the surface near 212 degrees and you end up steaming the roast in its own juice. Dry meat browns. Wet meat turns grey and sad.
Take it out of the refrigerator 30 minutes before it goes in the pot. A cold roast drops the pan temperature hard, and you spend the first five minutes of the sear just recovering heat you already paid for.
Step 2: Sear hard, and then leave it alone
Set the Lodge Dutch oven on the burner over medium heat and give it a full five minutes before anything else happens. Enameled cast iron is thick and it comes up to temperature slowly and unevenly if you rush it. Then add a tablespoon of oil with a high smoke point and lay the roast in, fattier side down if there is an obvious one.
The hardest instruction in home cooking is to not touch it. Four to five minutes per side, and six sides if you count the two ends, and you only flip when the meat releases on its own. If it sticks, it is not ready. What you are building is the fond, that dark crusted layer on the bottom of the pot, and that layer is most of the flavor in the sauce you will eat three hours from now. When you finally lift the roast out, it should leave behind a surface that looks almost burnt but smells like toast and coffee.
On my electric glass-top range I hold it at medium the entire time and lift the pot on and off rather than sliding it. The pot weighs 13.5 pounds before you put anything in it, and dragging enamel across a glass cooktop is how people scratch two things at once. Mine picked up a small chip on the outer rim in the first month from bumping the faucet, so I am not precious about it, but I do not slide it.
Step 3: Build the flavor base under the meat, not around it
Move the roast to a plate. Pour off all but about a tablespoon of the fat. Drop in two onions cut into wedges, three carrots broken into big pieces, and three celery ribs, and cook those in the fond for five or six minutes, scraping as they soften. The vegetables lift the browned bits off the enamel and hold onto them until the liquid comes back.
Add a tablespoon of tomato paste and stir it around for a minute until it darkens from red to brick. Then a quarter cup of dry red wine, or a quarter cup of stock if you would rather not open a bottle for this, and scrape the bottom of the pot hard with a wooden spoon while it bubbles. Every brown fleck you free is flavor that would otherwise stay glued to the pot and get washed down the sink.
Put the roast back in, fat side up, and add liquid until it comes about halfway up the side of the meat. Two to two and a half cups in a 6 quart pot for a 3.5 pound roast. Halfway, not three quarters, and never covering the top. The exposed crown of the roast browns in the oven and gives you something worth looking at through the glass door. A fully submerged roast is a boiled dinner wearing a nicer name. Add a few sprigs of thyme, two bay leaves and about a teaspoon of salt, remembering that the meat is already salted.
A pot bubbling at a hard boil is not braising faster. Collagen melts between 160 and 180 degrees, and everything above that is just driving moisture out of the meat.
Step 4: Let the oven do the work at 300 degrees
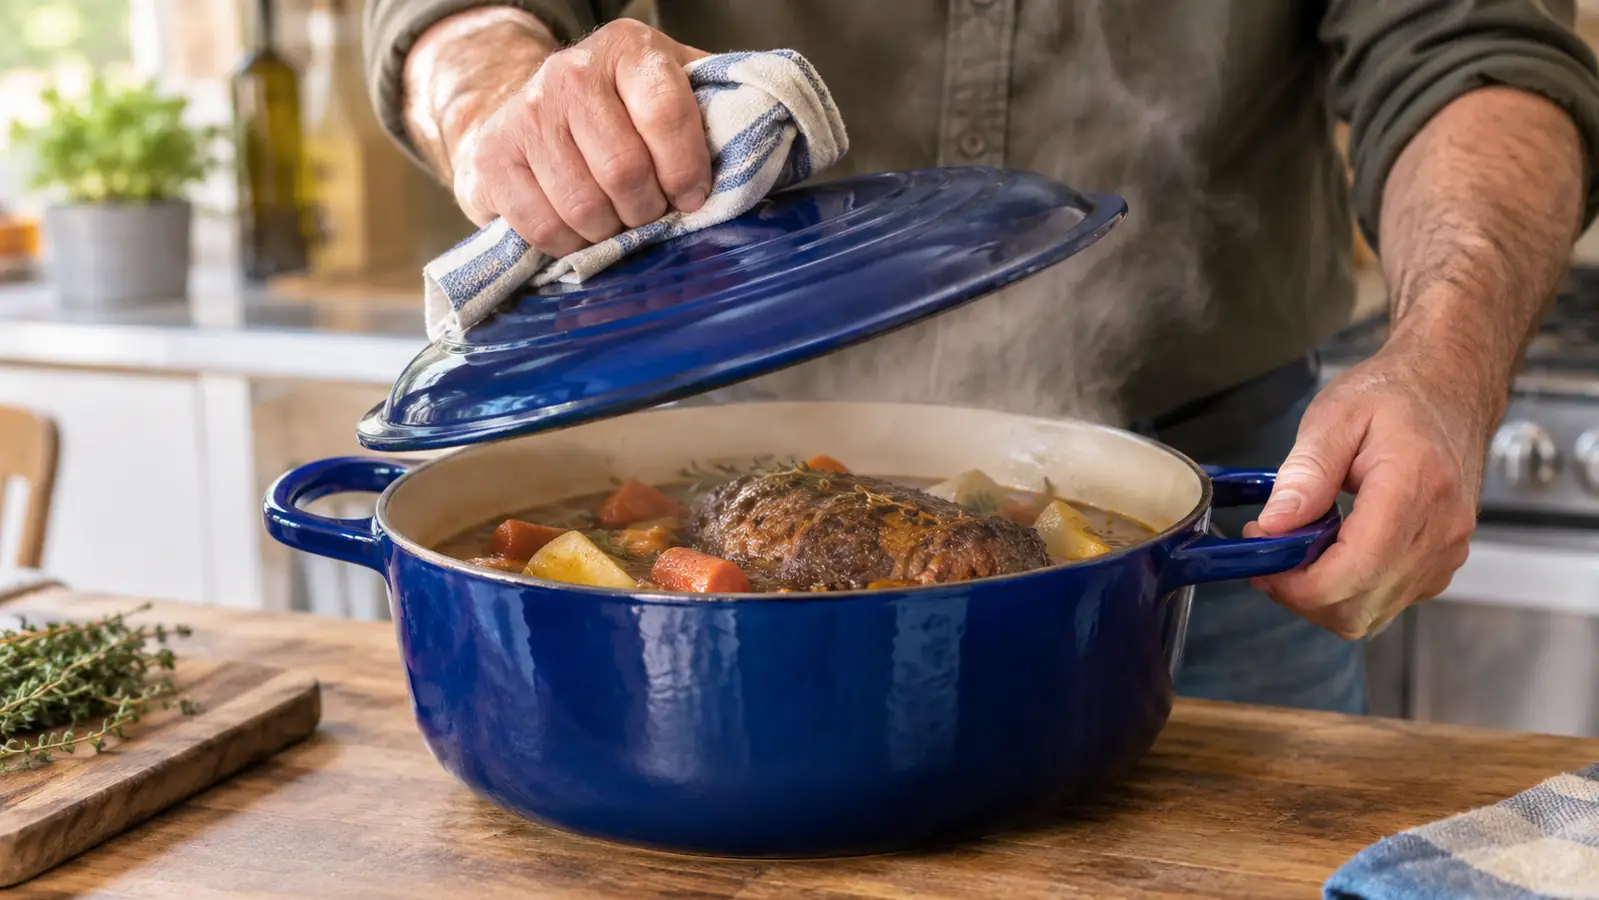
Lid on, pot in the middle of a 300 degree oven. Not 350. This is where most recipes lose people, and it is the step I would defend in front of a classroom. Collagen converting to gelatin is a time and temperature problem. It begins in earnest around 160 degrees and runs comfortably between 160 and 180. A pot churning at a hard boil is not converting anything faster. It is squeezing moisture out of the muscle fibers while the connective tissue slowly gives up, which is precisely how you get dry meat sitting in liquid. Slow and low gives the collagen the time it needs without punishing the muscle.
Two and a half hours for a 3.5 pound roast is the floor. Three hours is usually right in my oven. At the two hour mark I lift the lid, turn the roast over with two wooden spoons, and add the potatoes and the rest of the carrots if I want them intact rather than collapsed into the sauce. Root vegetables added at the start disintegrate. Added at the two hour mark they come out tender and still recognizable as themselves.
How do you know it is finished? Not by the clock. Stick an instant-read thermometer into the thickest part. Somewhere between 200 and 205 degrees the meat is shreddable but still juicy. Below that it slices but fights the knife. If you are at 190 and dinner is an hour away, put the lid back on and leave it. The Lodge is rated oven safe to 500 degrees, but I have never had a reason to take this particular dish above 325.
Step 5: Rest it, then fix the sauce
Take the pot out and leave the lid off for 20 minutes. The meat firms up enough to lift out in one piece instead of fishing for it with a slotted spoon while it falls apart. Move it to a board and tent it loosely with foil.
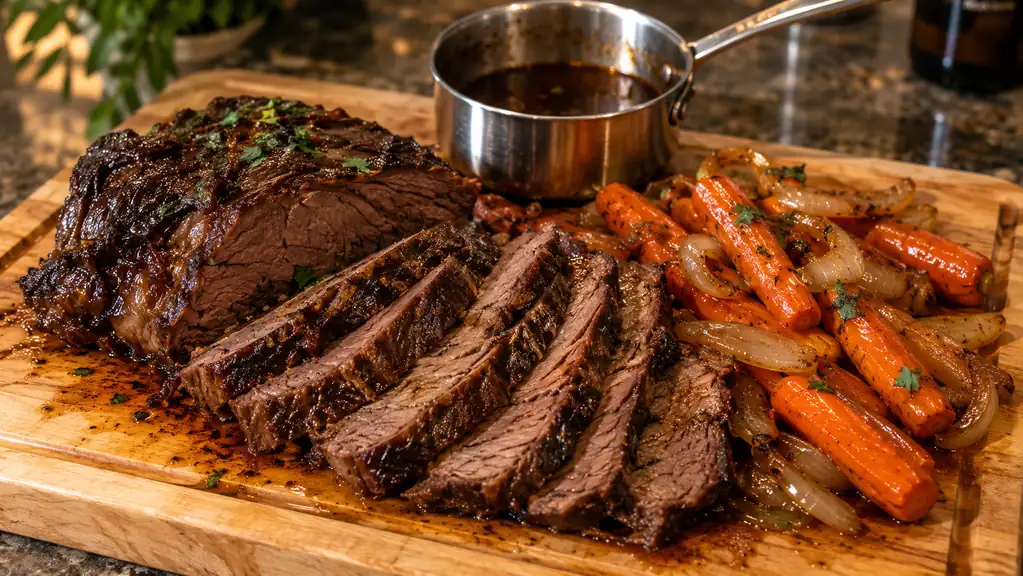
Strain the liquid into a saucepan and let it sit five minutes so the fat rises. Spoon the fat off the top. Now taste it, and expect it to be flat, because meat juices and a couple of cups of stock do not add up to a sauce on their own. Simmer it 10 to 15 minutes until it coats the back of a spoon, then adjust salt and pepper. If it tastes thin and sharp, a teaspoon of butter whisked in at the end rounds the edges off. Do not thicken it with a load of flour. A pot roast sauce should be a jus, not a gravy.
Slice the roast against the grain, or pull it into chunks with two forks if it is truly tender, and return it to the pot with the sauce. Serve it straight out of the pot at the table. That, honestly, is the whole reason to own one.
What Else Helps
An instant-read thermometer is the largest single upgrade to this dish, larger than any ingredient. Braising is forgiving right up until it is not, and judging doneness by poking with a fork is how a roast goes from tender chunks to shredded fiber. I check mine in boiling water every few months, because a thermometer reading five degrees off is worse than no thermometer at all.
Beyond that: a wooden spoon with a flat edge for scraping, a board with a channel to catch the juices, and a gravy separator if you braise often enough to justify the drawer space. The two habits that changed my results most cost nothing at all. Salting the meat the night before, and letting the pot come up to temperature slowly before the sear instead of cranking the burner and hoping.
If you are still deciding whether a Dutch oven deserves the counter space, I wrote about that separately, and about how mine has held up after eight months at two or three uses a week. For anyone weighing the Lodge against the Cuisinart Chef's Classic, the short version is that the Lodge is heavier in the hand and the Cuisinart is lighter, and which one suits you depends on how often you lift a full pot.
Eight months in, still living on the back left burner
Round, 6 quarts, 13.5 pounds, enameled cast iron, oven safe to 500 degrees. Mine has done braises, soups, chili and bread since March, and the cooking surface is still fine.
Amazon Check Today's Price on Amazon →