
Every bread recipe I have ever followed ends the mixing instructions with the same cheerful sentence. Knead for eight to ten minutes, until the dough is smooth and elastic. It never says what smooth and elastic feels like under your hand, how it sounds against the side of a bowl, or how you know you have crossed the line into over-kneaded. My first dozen loaves after I retired were either shaggy bricks or pale little stones, and for a while I blamed the flour, then the yeast, then the oven.
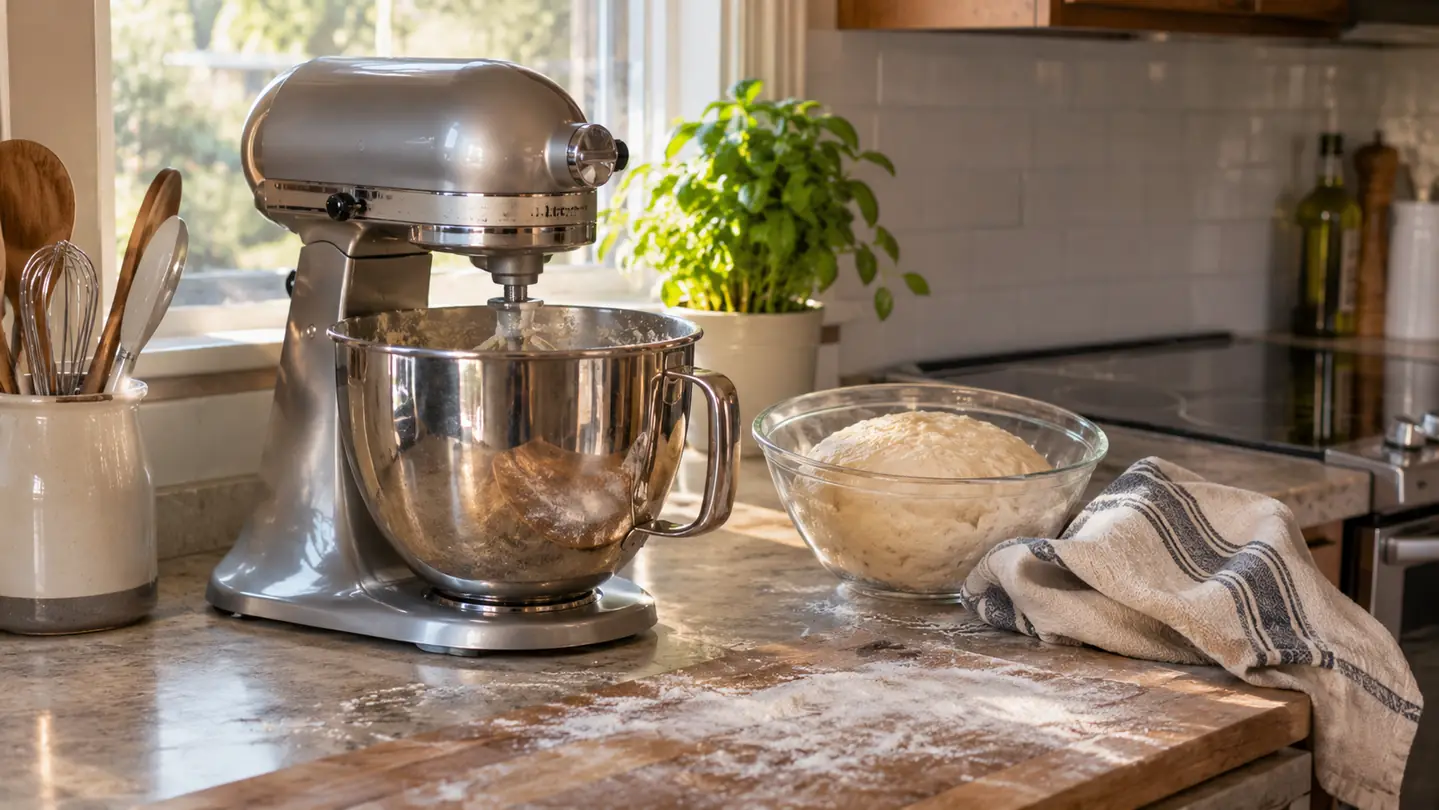
Here is what changed. In the first week of March this year I bought a KitchenAid Artisan 5 quart tilt-head stand mixer, mostly because twenty minutes of hand kneading had started to make my wrists ache in a way that did not feel like a fair trade for a loaf of bread. What I did not expect was that the machine would teach me what the dough is supposed to look like. A dough hook turning at a steady speed is a patient teacher. It does the same thing every single time, so when a batch goes wrong you can watch it go wrong instead of guessing at it afterward.
What follows is the sequence I use now, roughly once or twice a week since March, for sandwich loaves, pizza dough, and the Sunday loaf the grandkids tear apart before it has finished cooling. Five steps. Nothing in them requires a pastry diploma or a second oven.
The week I stopped kneading by hand, my wrists stopped aching
The KitchenAid Artisan does the eight minutes I used to do with my knuckles, and it does it the same way every time. Today's price is on the listing.
Amazon Check Today's Price on Amazon →Step 1: Put the Wet Ingredients in First, Then the Flour
Order matters more than most recipes admit. If you dump the flour in first and pour the water on top, the hook spends its first two minutes pushing a dry pocket around the bottom of the bowl while the rest of the dough hydrates unevenly. I put the water, the yeast and any honey or starter into the bottom of the 5 quart bowl first, then add the flour and the salt on top of that.
Then I use the flat beater, not the hook, for the first thirty seconds on the lowest speed. The beater smears the flour down into the water and gets everything wet at once. It is the same reason you stir cocoa powder into a paste before adding the milk. Once the bowl looks like a shaggy uneven mess with no dry flour left in the corners, I stop, scrape the beater, and switch to the coated dough hook.
One honest ceiling to know about. A batch built on about six cups of flour is comfortable in a 5 quart bowl. I tried a double batch for a bake sale in April, and the dough climbed the hook, grabbed the rim, and made a run for the counter. The KitchenAid did not stall or complain. It simply had more dough than the bowl could hold. If you want two large loaves at once, mix them as two batches and be done with it.
Step 2: Lock the Bowl, Hook On, and Stay at Speed 2
The bowl twists into the base and locks. The hook pushes onto the shaft. Then the speed control knob goes to 1 and stays there for about a minute, until the dough stops shedding flour onto the counter. After that it goes to 2, and it stays at 2 for the rest of the knead. This machine has ten speeds on the dial and the dough hook belongs at the bottom of them.
There is a reason for that, and it is not caution for its own sake. Kneading is a stretching and folding action. At speed 2 the hook drags the dough around the bowl, stretches it against the side, and lets it fall back on itself. Push the speed higher and the same hook slings the dough instead of stretching it, and all that slinging builds friction. Friction warms the dough, and warm dough ferments faster than you planned. You end up with a loaf that tastes like a brewery and a schedule that has run away from you.
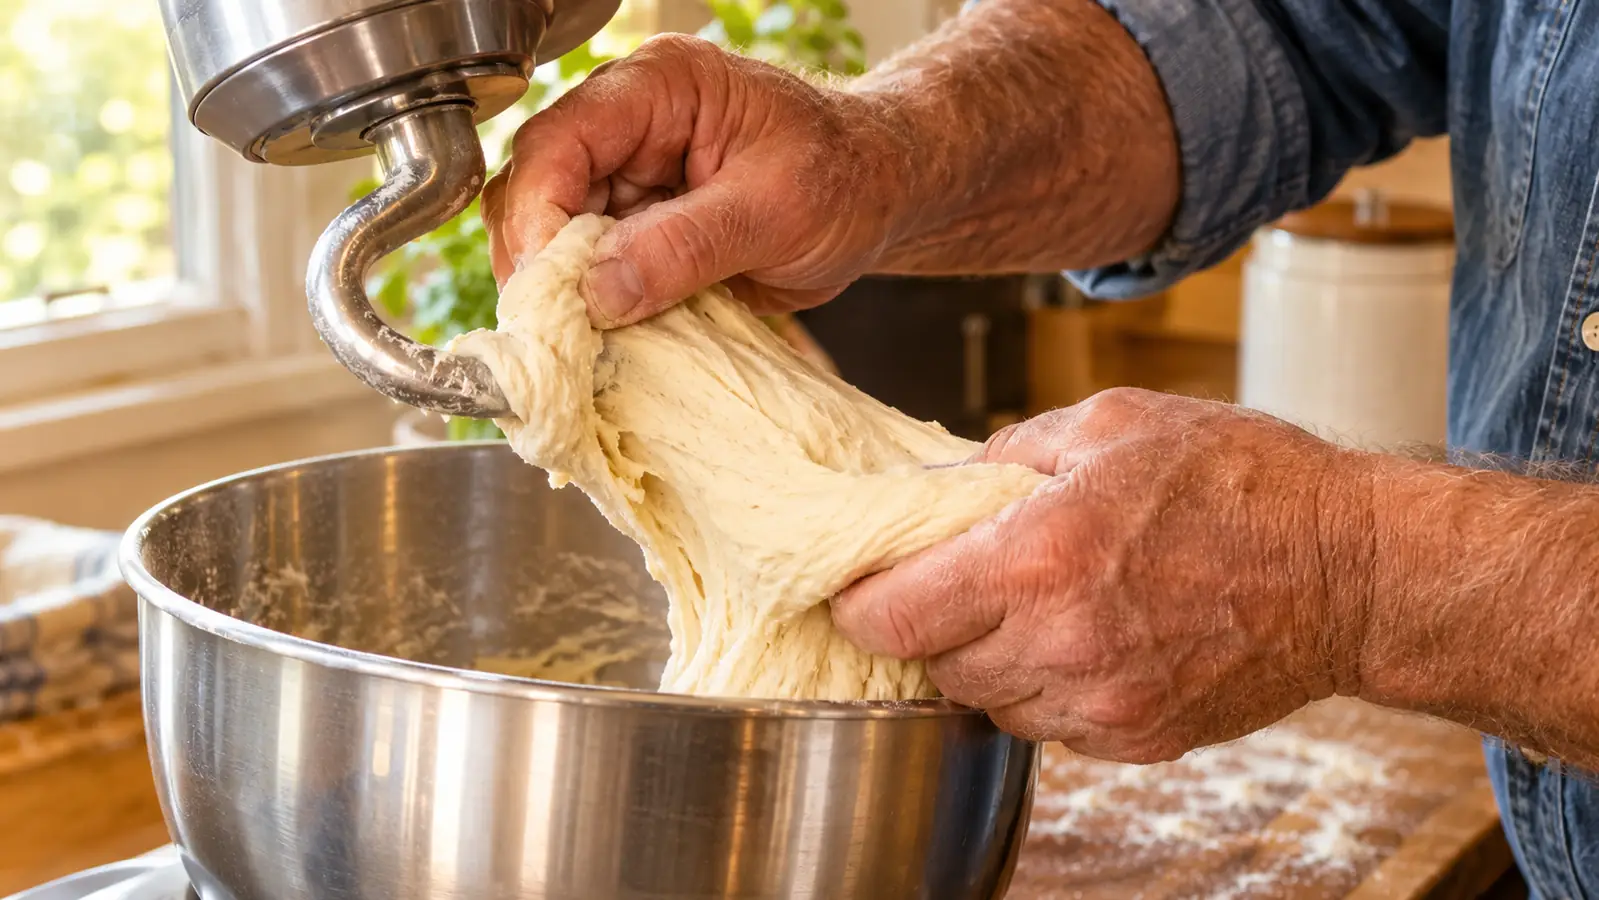
The sound tells you whether it is working. There should be a steady wet slap against the side of the bowl, roughly one slap per revolution, like a sneaker in a dryer at very low volume. If it goes quiet and the dough just spins in a ball on the hook, the dough is too dry and wants a spoonful of water. If it slaps hard and throws bits up the sides, it is too wet and wants a spoonful of flour. Neither is a crisis. Both are information, and the machine is giving it to you for free.
Step 3: Read the Dough, Not the Timer
Recipes say eight minutes. In my kitchen, with the same flour and the same yeast, the same dough takes six minutes in February and nine in August. Humidity in Asheville is not a rumour. So I use the clock to know when to start checking, and I use the dough to know when to stop.
Three things I look for. First, the bowl. When the dough has come together properly it leaves the sides of the stainless bowl mostly clean and rides the hook in one piece. Second, the feel. I pull off a piece and press it between my fingers. It should be tacky, meaning it grips slightly and then lets go, not sticky, meaning it glues itself to my skin and takes a little of me with it. Third, the windowpane. I stretch a walnut sized piece between my thumbs until it goes thin. If I can see light through it without it tearing into a ragged hole, the gluten is developed enough to shape.
I also take the dough's temperature with the instant-read probe I keep in the drawer by the stove. Around 78 F is where I want it. Much warmer than that and the loaf will taste like a brewery by the time it reaches the oven. Much cooler and the first rise takes so long that I am still waiting on it at nine at night, which is how I learned to stop mixing dough at four in the afternoon.
Step 4: Add Flour a Tablespoon at a Time, and Only When You Must
This is the step where most home bakers, myself included for years, ruin a perfectly good dough out of nervousness. The dough looks wet, so we dust it. It looks wet again, so we dust it again. By the time it is pleasant to touch, we have added a cup of flour the recipe never called for, and the loaf comes out dense and small and slightly sad.
A slack dough is the point, not the problem. Water is what lets gluten strands slide past each other and line up, and it is what turns to steam in the oven and pushes the loaf upward. The wetter dough that fights you a little on the counter bakes into the loaf with holes in it. The dry dough that behaves itself bakes into something you could use to press a shirt.
If the dough genuinely needs flour, add it one tablespoon at a time with the mixer on speed 1, and let it work for thirty seconds before you judge the result. Same in reverse for water, one teaspoon at a time. And if you have already over-floured the batch, do not throw it out. Add water back slowly and give the hook time to work it in. Bread dough is forgiving in a way that pastry is not, which is the main reason I bake bread and only admire pastry from a distance.
Step 5: Stop the Mixer a Minute Early and Finish by Hand
The hook kneads in one direction, around and around, for as long as you leave it there. A few folds by hand work the dough in the other direction and tighten the surface, and a tight surface is what gives you a loaf that holds its shape instead of spreading into a pancake on the sheet. So I take the dough out while it is still just barely under-kneaded, set it on the butcher block, and do four or five folds. Stretch the top up and over, turn a quarter, repeat, until the surface feels smooth and slightly taut under my palm.
Then it goes into a bowl, covered with a towel, to rise. I use the mixer bowl itself, wiped and lightly oiled, which saves washing up and gives the dough the warmth left over from the kneading. The first rise runs about an hour in a warm kitchen and closer to ninety minutes in January.
I wash the bowl and the hook by hand while the dough rises. Dough that clings to the hook loosens in warm water in about a minute if you get to it before it dries, and takes ten minutes of scraping if you do not. That is not a machine flaw. That is a discipline flaw, and I have it roughly every third Sunday.
What Else Helps
Two other things in this kitchen earn their space on a baking day. The first is a thermometer for the water. Yeast is a living thing and it has opinions about temperature. Water above about 115 F will slow it down or kill it outright, and water straight from the tap in winter is cold enough to put the entire process to sleep. I check the water with the same instant-read probe I use on the dough and aim for somewhere between 100 and 110 F. My hand is not a reliable instrument and never was, which is a thing I should have learned sooner than I did.
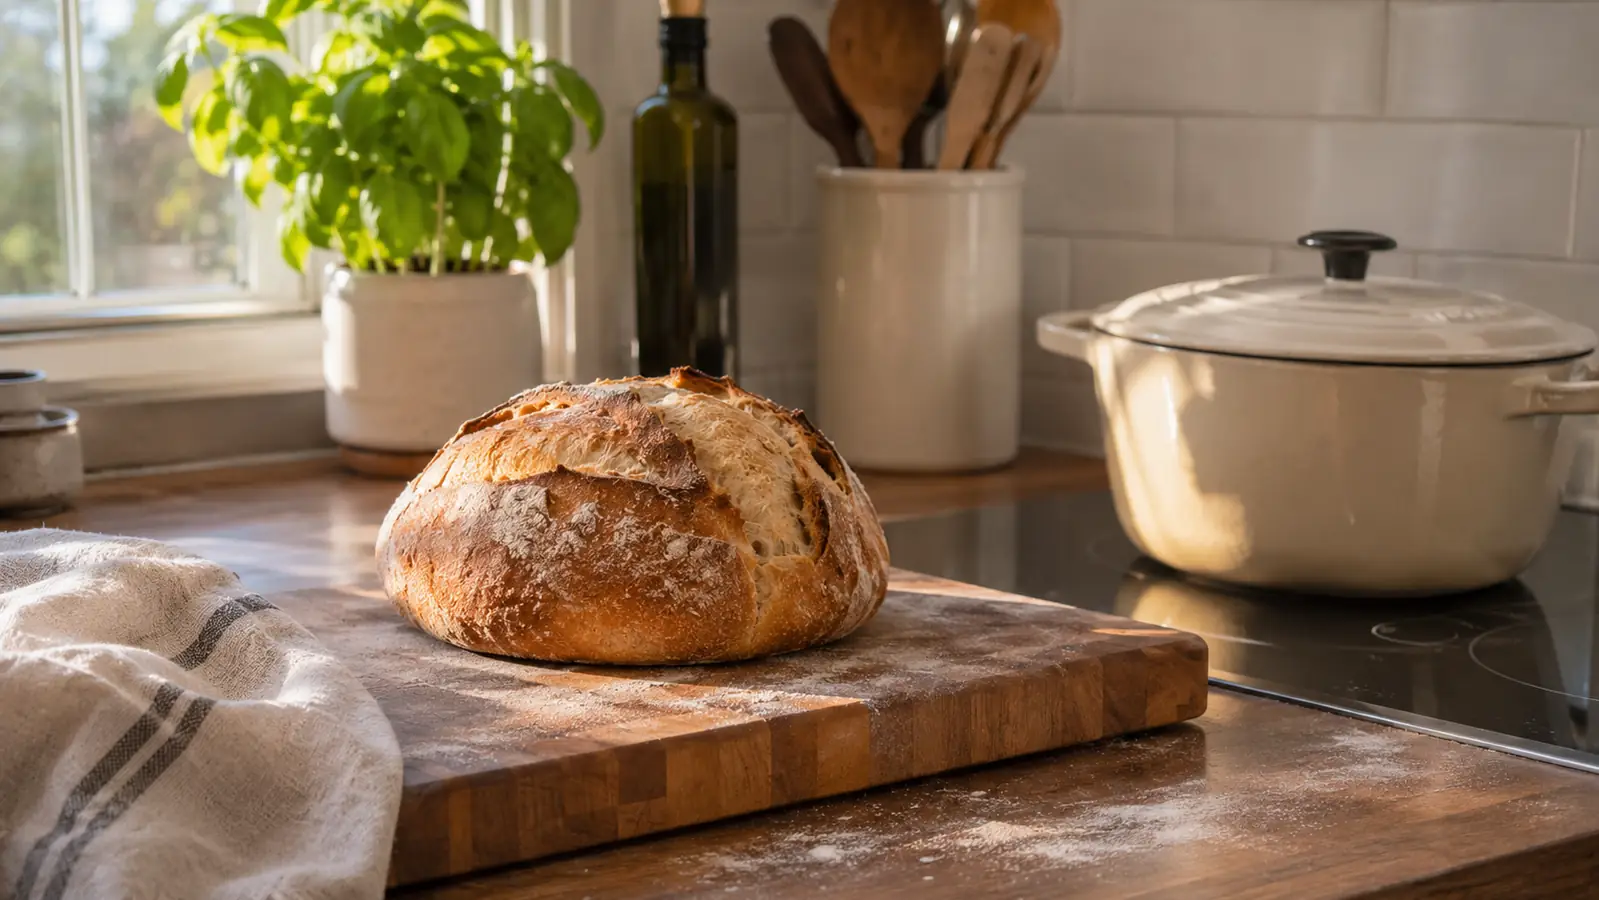
The second is the enameled cast iron Dutch oven. I preheat it empty in a 450 F oven for half an hour, drop the shaped loaf in, score the top, lid on for twenty minutes, then lid off for another twenty to brown. The closed pot traps the steam the loaf gives off in its first minutes, and that steam keeps the crust from setting before the bread has finished rising. A loaf baked on an open sheet in a home oven will still be good. A loaf baked in a closed pot will be better, and I did not believe that until I tried it both ways on the same afternoon.
Ruth is the third thing, though she does nothing at all during the bake except appear when the oven door opens. She is the taster, and she is honest in a way no recipe has ever been. Her verdict on my first machine-kneaded loaf was that it looked like bread and tasted like a mattress. The one I made the following Sunday she ate two slices of without being asked, which from her is a standing ovation.
Eight minutes at speed 2, five folds by hand, and the loaf I pulled out of the Dutch oven had a crumb I could not get in three years of kneading on the counter.
The mixing is the only part worth automating. Everything after it is just waiting.
One machine, the bowl, the flat beater, the dough hook and the wire whip in the box, and about eight minutes of actual work per loaf. Today's price is on the listing.
Amazon See the KitchenAid Artisan on Amazon →